Installer tip: brush positioning for best cleaning results
Camera performance often depends on small details. Camera cleaning brush positioning is one of those details that can significantly affect real-world results. Even with the right cleaning system installed, improper alignment can reduce effectiveness.
Therefore, installers play a key role in ensuring long-term camera visibility.
Why positioning matters more than expected
At first glance, a cleaning brush may seem simple. However, its effectiveness depends heavily on how it interacts with the lens area.
If the brush:
- sits too far from the lens
- touches only part of the viewing area
- or is misaligned with the optical center
then contamination can remain exactly where it matters most.
As a result, even active cleaning may leave:
- blurred zones
- partial obstruction
- inconsistent visibility
That is why correct camera cleaning brush positioning is critical during installation.
Where the brush should be aligned
For best results, the brush should focus on the optical priority zone — the central lens area.
In practice, this means:
- aligning the brush directly in front of the lens
- ensuring full-width coverage of the viewing area
- maintaining consistent contact without excessive pressure
Additionally, installers should verify positioning from the camera’s actual viewpoint, not just visually from the outside.
Common installation mistakes to avoid
Even experienced installers can overlook small positioning issues.
For example:
- mounting slightly off-center
- allowing too much gap between brush and lens
- installing at an angle that misses the core viewing zone
Consequently, cleaning becomes less effective, and maintenance intervals may not improve as expected.
How proper setup improves performance
When camera cleaning brush positioning is correct, the difference is immediate.
You can expect:
- more consistent lens clarity
- fewer repeat contamination issues
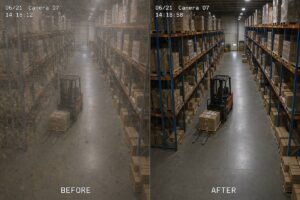
- better night-time performance
- reduced need for manual intervention
In other words, correct positioning turns cleaning from a reactive fix into a reliable preventive function.
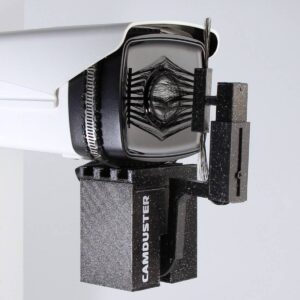
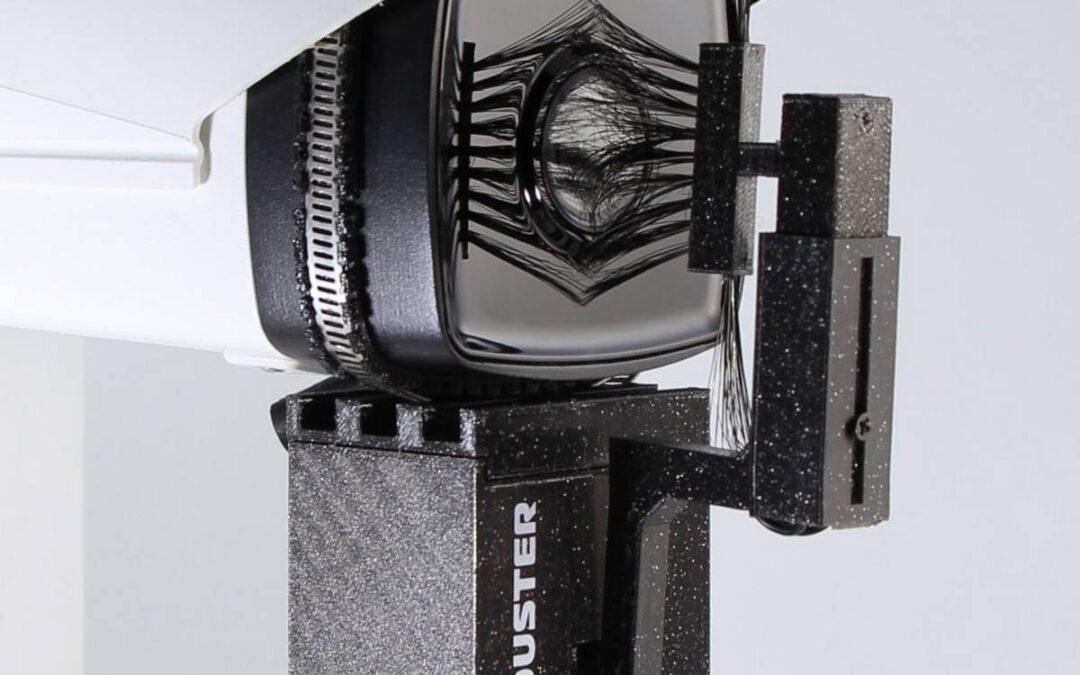
CAMDUSTER: designed for practical installation
CAMDUSTER is built to support straightforward installation while maintaining effective brush alignment across supported camera types.
Because of this, installers can:
- integrate quickly into existing setups
- fine-tune positioning during installation
- support long-term cleaning performance
👉 Learn more: https://camduster.com
👉 See installation examples: https://camduster.com/cobwebs-at-night-security-camera-cleaning/
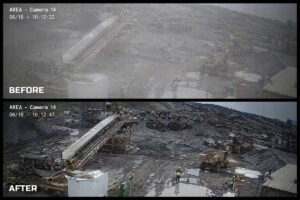
Case Study: small adjustment, big improvement
At a logistics site, a newly installed camera cleaning unit initially showed limited improvement in image clarity.
After inspection, the issue was simple:
the brush was positioned slightly below the lens center.
Once adjusted:
- lens coverage improved immediately
- night visibility became clearer
- repeat cleaning needs dropped
This highlights how even minor positioning changes can significantly impact results.
FAQ – Brush positioning and installation
How precise does brush positioning need to be?
It does not need to be millimeter-perfect, but it should clearly cover the central lens area where image quality matters most.
What happens if the brush is slightly off-center?
Even small misalignment can leave part of the lens uncleaned, which may still cause blurry or reduced-quality footage.
Should the brush touch the lens directly?
Yes, but gently. The goal is consistent contact without applying excessive pressure that could affect the camera housing.
Does positioning affect night vision performance?
Absolutely. Poor alignment may leave residue in front of IR illumination zones, reducing night clarity significantly.
Can installers adjust the position after installation?
Yes. It is recommended to check footage after installation and fine-tune the brush position if needed.
Is positioning different for indoor vs outdoor cameras?
The principle is the same, but outdoor cameras may require more precise alignment due to higher contamination levels.
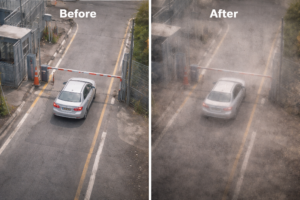
How can I verify correct positioning?
The best way is to review the camera image before and after cleaning to confirm full coverage of the lens area.
Does incorrect positioning increase maintenance?
Yes. Poor alignment can lead to repeated contamination and more frequent manual cleaning interventions.
Read more FAQs
Can one setup work for all camera types?
Different camera shapes may require slight adjustments, but the core principle of lens-centered alignment remains the same.
Do installers need special tools to align the brush?
No. Standard installation tools and visual verification are typically sufficient for proper positioning.
What is the most common positioning mistake?
The most common issue is placing the brush too low or too far from the lens, reducing cleaning effectiveness.
#CAMDUSTER #CameraCleaningRobot #DirtyCameraLens #FactorySecurity #OperationalEfficiency